Week 0 / Lesson 06
Get your workspace
Previous lesson marked complete on this site. Canvas submissions are separate.
Accept the invitation and the Workspace assignment, then check your private repository.
Your workspace is a private repository on GitHub. It holds everything you make this quarter. Only you and the instructor can open it. Getting it takes three parts, in this order: accept the invitation, accept the Workspace assignment, check your copy.
This part is new for everyone on the first day, and it may be bumpy. If a screen does not match these steps, tell the instructor. We fix it together.
Before you start
- Complete the GitHub account steps in Set up your accounts and sign in. Student Developer Pack, Figma, and CodePen setup can continue over the weekend.
- The instructor has added your
@ewu.eduaddress to the class roster. GitHub then emails you an invitation to code-and-design-teaching.
1. Accept the invitation
- Open the email from GitHub that invites you to code-and-design-teaching. The message carries a link to the invitation.
- Select that link. GitHub opens the invitation page.
- Select Join code-and-design-teaching. GitHub opens the organization page.
The organization page lists one repository, the instructor's template. There is nothing to do on this page. Your assignment is on Classroom 50, not on GitHub. Go on to part 2.
2. Accept the Workspace assignment
Open the Workspace link in the Week 0 module in Canvas. Classroom 50 opens with a dialog titled Analytics help improve Classroom 50.
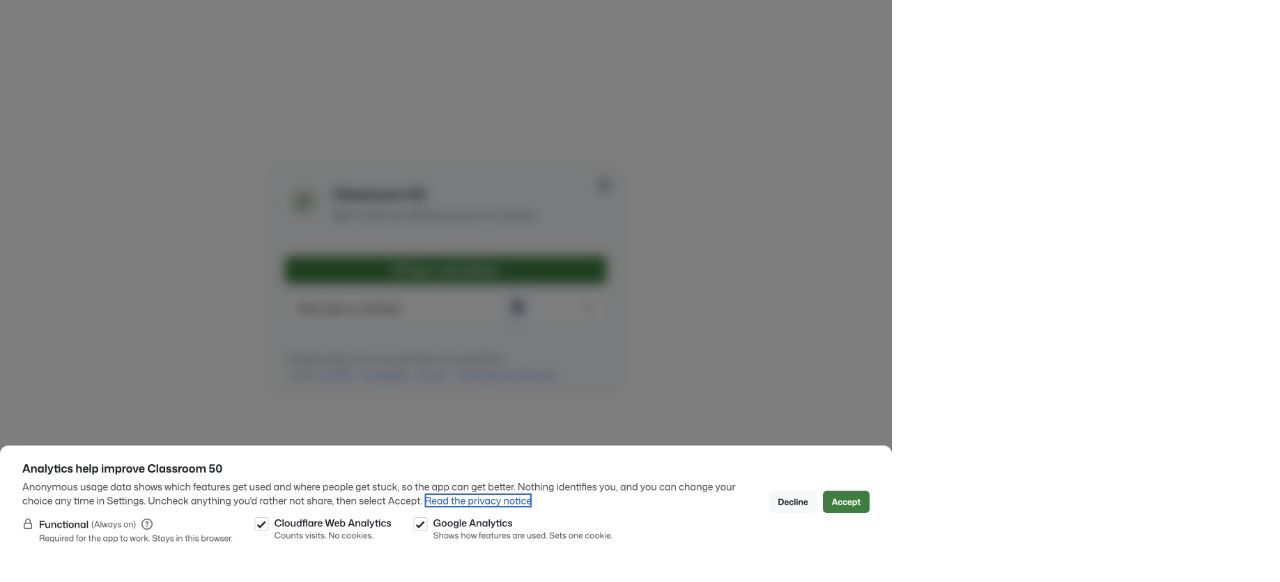
Select Decline. The dialog closes. The sign-in page appears. Classroom 50 works the same either way.
Select Sign in with GitHub. GitHub asks you to authorize Classroom 50.
Select the green Authorize button. Classroom 50 opens the Workspace page.
Read the username beside Signed in as. It is yours.
Select Accept assignment. A checklist shows Classroom 50 setting up your repository.
Select Open repository when the checklist finishes. GitHub opens your copy of the course workspace.
If the username beside Signed in as belongs to another account, stop and tell the instructor.
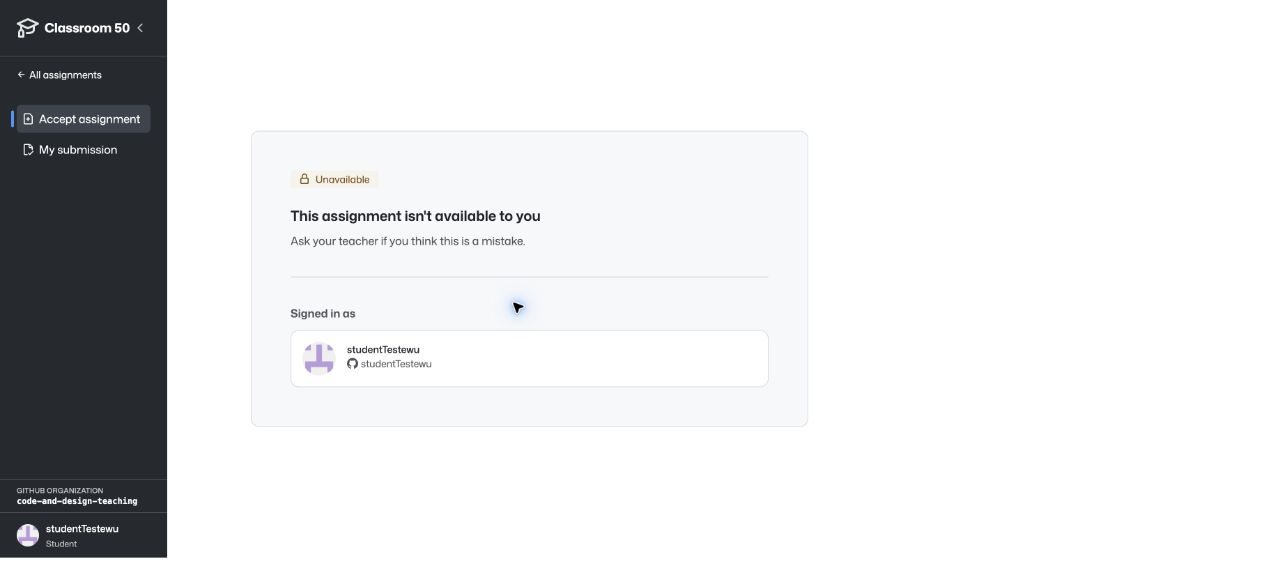
If the page says This assignment isn't available to you, tell the instructor. The instructor selects Refresh roster. Then reload the page.
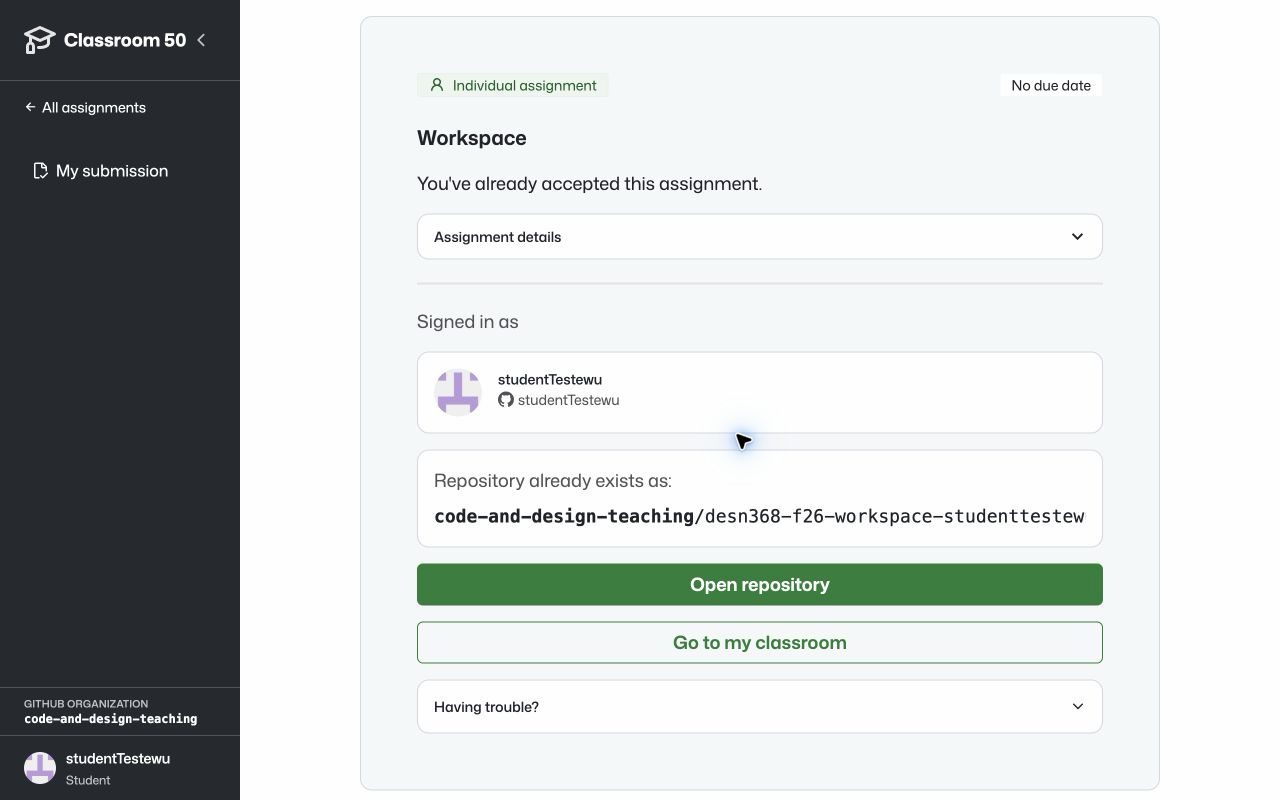
The Workspace link keeps working after today. The page then says You've already accepted this assignment. It offers Open repository.
3. Check your copy
Read the address bar. The address begins
github.com/code-and-design-teaching/desn368-f26-workspace-. It ends with your username in lower case.Look beside the repository name at the top of the page. A Private label sits there.
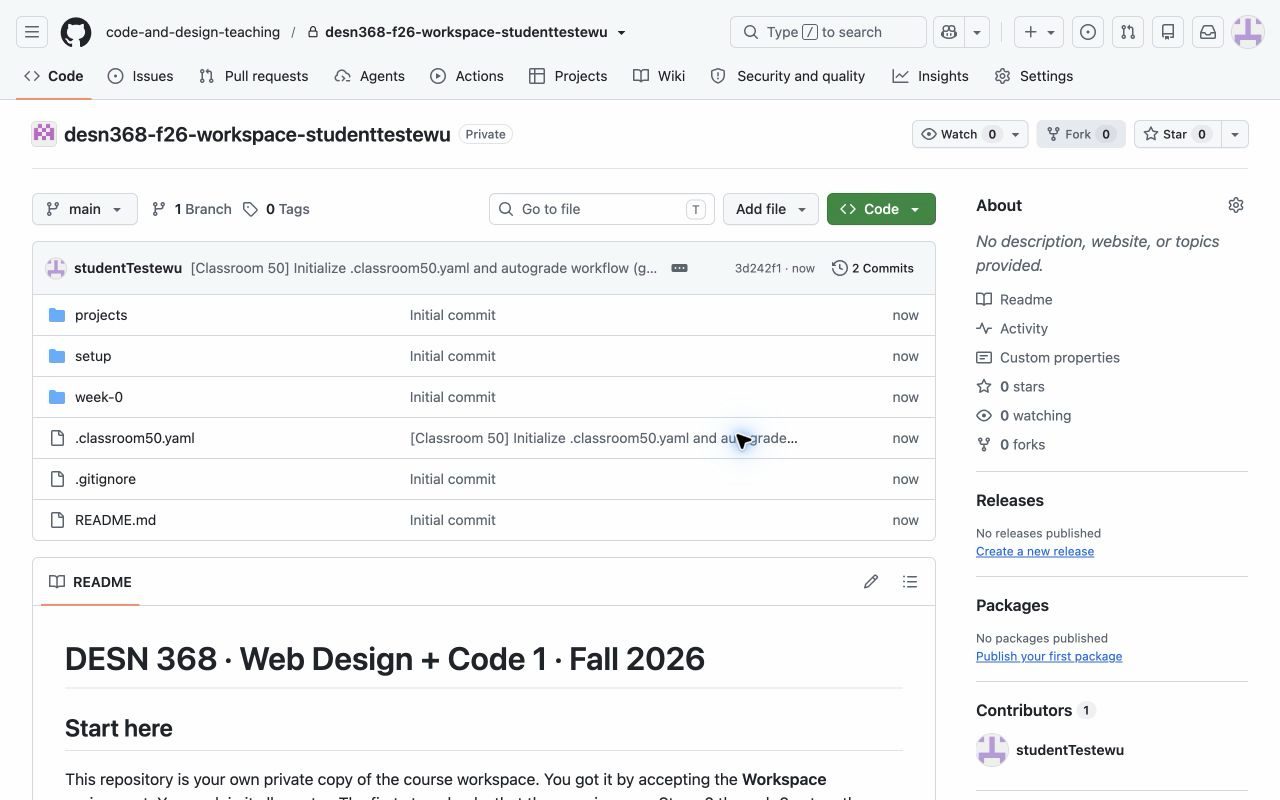
Scroll down to the README under the file list. It begins with Start here. Its Step 1 is the check you just did.
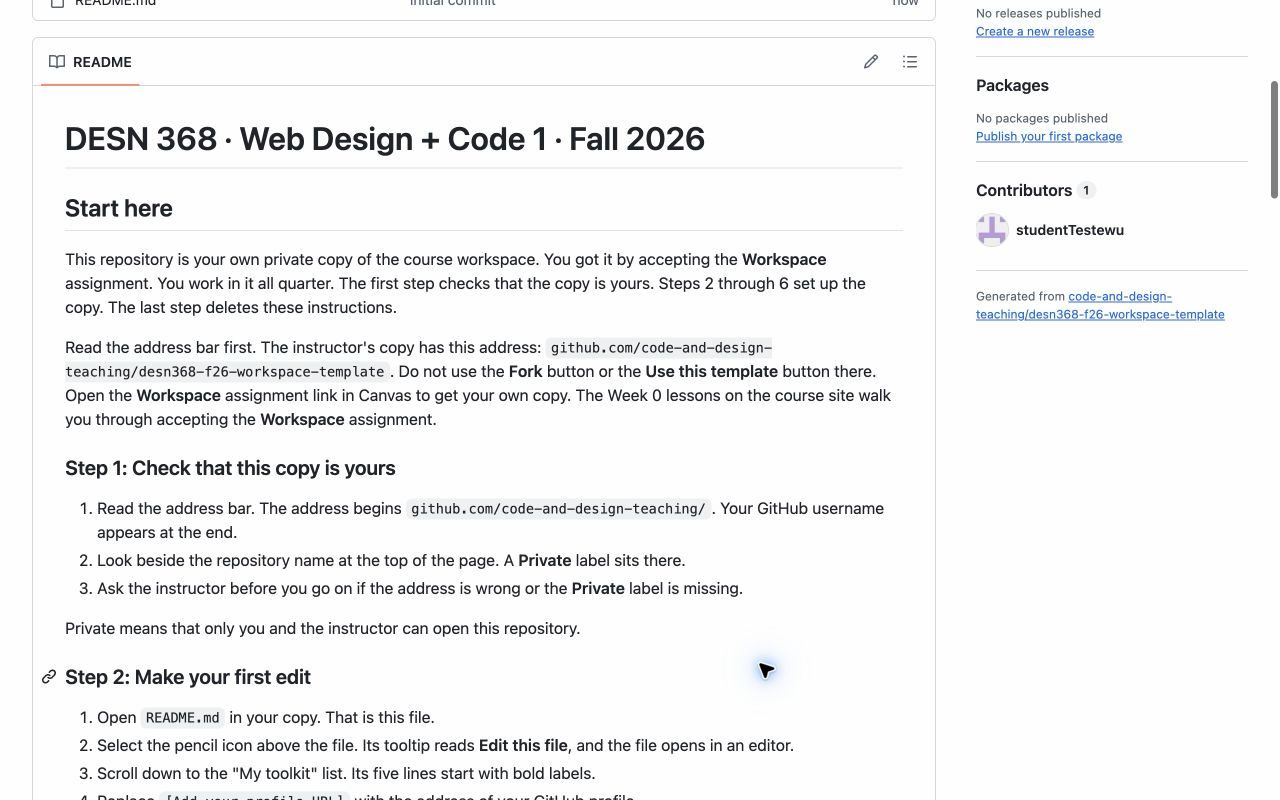
Ask the instructor before you go on if the address, the Private label or Start here does not match.
One file in the list, .classroom50.yaml, belongs to Classroom 50. Leave it alone.
4. Make your first edit
The README's Step 2 gives these same steps. Do them once here, with the instructor.
Select
README.mdin the file list. The file opens.Select the pencil icon above the file. Its tooltip reads Edit this file. The file opens in an editor.
Scroll down to the "My toolkit" list. Its five lines start with bold labels.
Replace
[Add your profile URL]with the address of your GitHub profile. The editor shows your address on that line.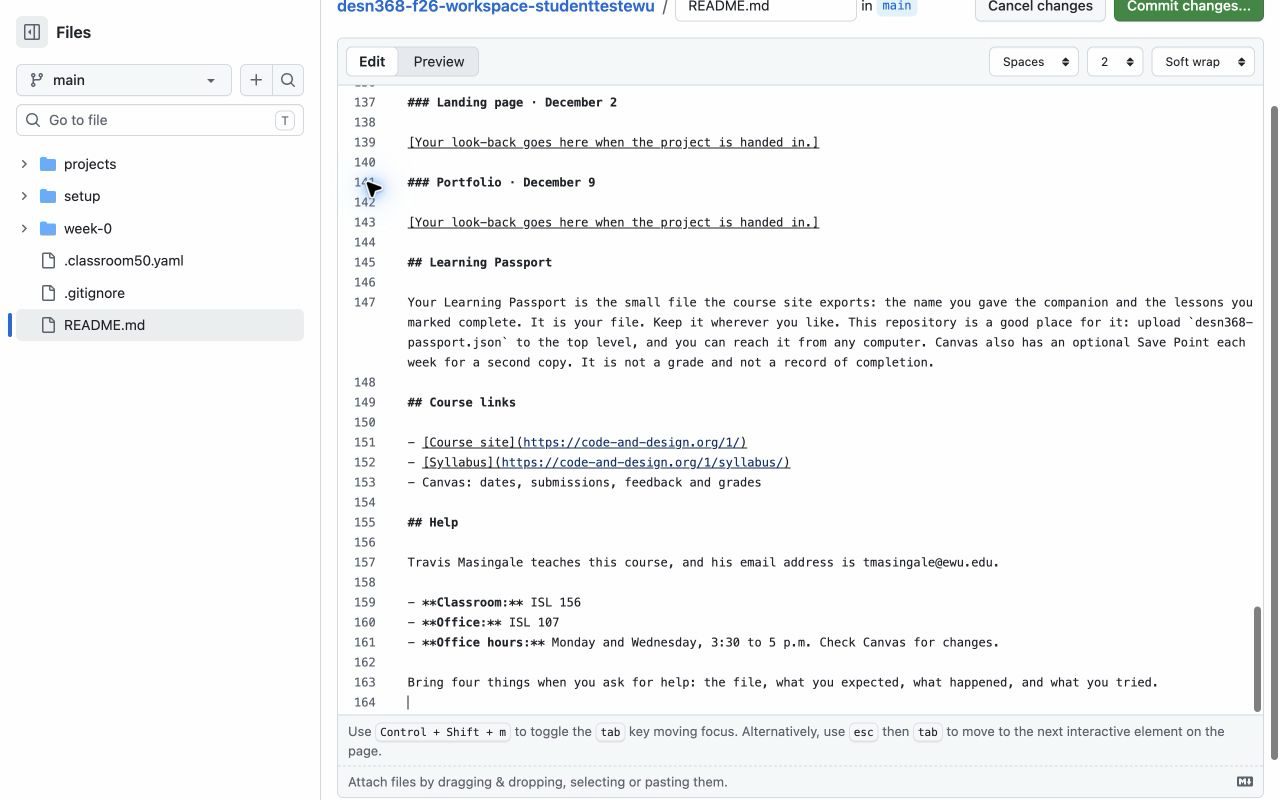
Select the green Commit changes... button at the top right. A dialog opens.
Delete any text already in the first box of the dialog. The box is empty.
Type a short message in that box, such as "Add my profile URL". The message shows in the box.
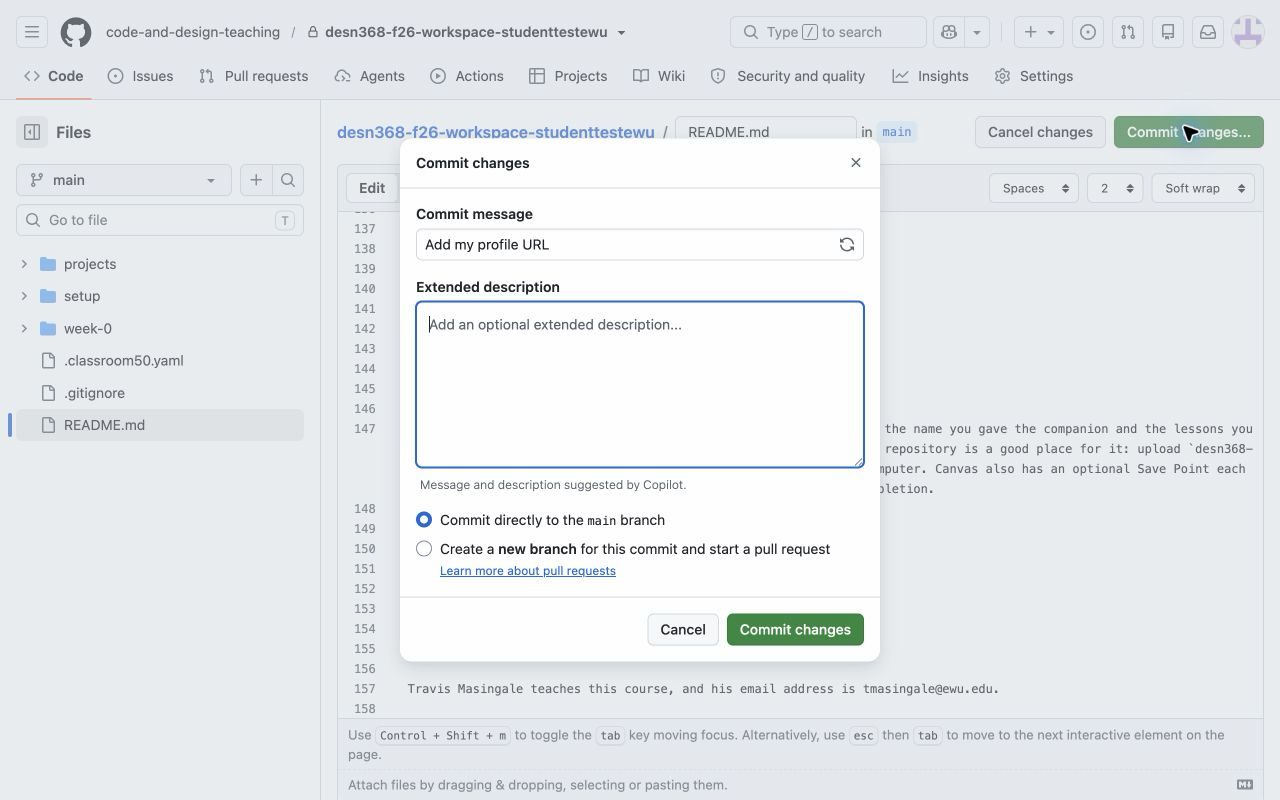
Select the green Commit changes button in the dialog. The dialog closes. Your new line shows in the file.
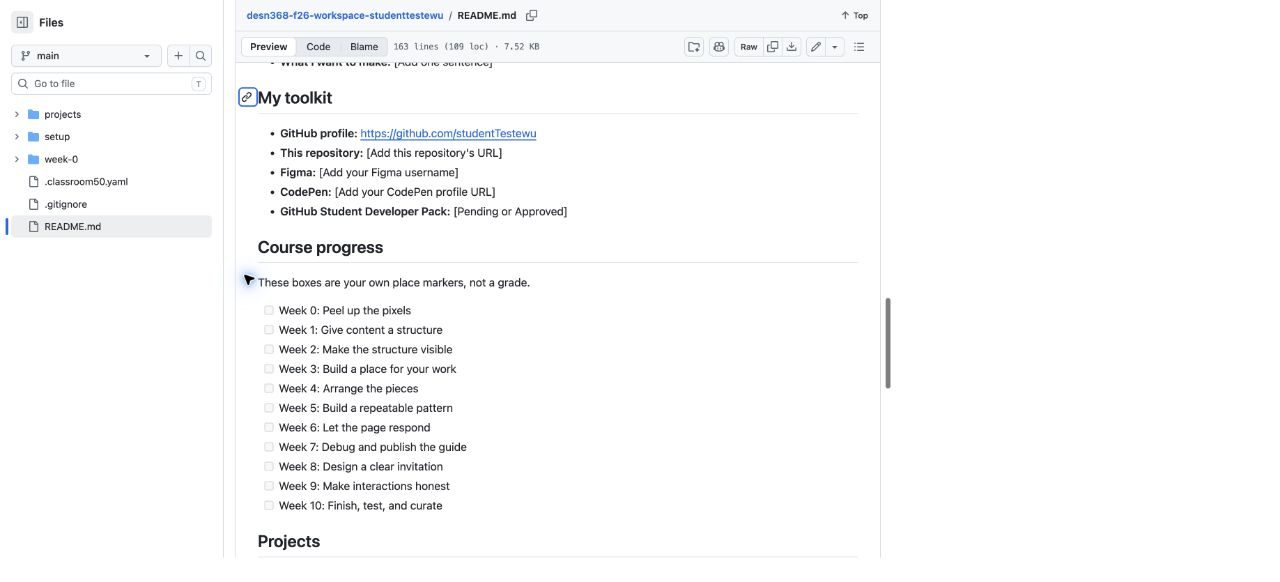
A commit is a saved, named change to the files in your repository.
Canvas holds the due date.