Explore HTML // a view source activity
Week 1 · HTML Exploration
Prerequisites: Tools You'll Need
Before starting this activity, ensure you have the following installed on your machine.
Firefox Browser
If you don't have Firefox on your machine, download Firefox here.
Visual Studio Code
If you don't have Visual Studio Code on your machine, download Visual Studio Code here.
Activity File
This is a web page written in HTML, the language of the web. You'll learn more about how it works, but first explore it by using the Inspector Tool.
Part 1: File Setup & Organization
Step 1: Create Your Folder Structure
Set up an organized workspace for all your course files:
- Navigate to your User folder
- On Mac:
/Users/[your-name]/ - On Windows:
C:\Users\[your-name]\
- On Mac:
- Create your main course folder
- Name it:
desn368-s26
- Name it:
- Inside your course folder, create:
- A folder named:
week-2
- A folder named:
- Inside the week-1 folder, create:
- A folder named:
view-source
- A folder named:
Your folder structure should look like this:
desn368-[initials]-f25/
    └── week-1/
        └── view-source/
            └── [your file will go here]
Step 2: Download and Save the File
- Download the file: view-source-activity.html
- Move or save the file into your
view-sourcefolder - Rename the file to:
view-source-[your-last-name].html- Example:
view-source-masingale.html
- Example:
Part 2: Open the File in Your Browser
Step 3: View in Firefox
- Right-click on your
view-source-[your-initials].htmlfile - Select "Open with" → Firefox
- The webpage should open in your browser
Keep this browser window open — you'll need it for the next steps.
Part 3: Explore with Developer Tools
Step 4: Open Firefox Dev Tools
- With your HTML file open in Firefox, go to the menu bar
- Click: Tools → Browser Tools → Web Developer Tools
- Shortcut:
F12(Windows) orCmd + Option + I(Mac)
- Shortcut:
- The Developer Tools panel should appear at the bottom or side of your browser
Step 5: Use the Page Inspector
- Look for the Inspector tab in the Developer Tools panel
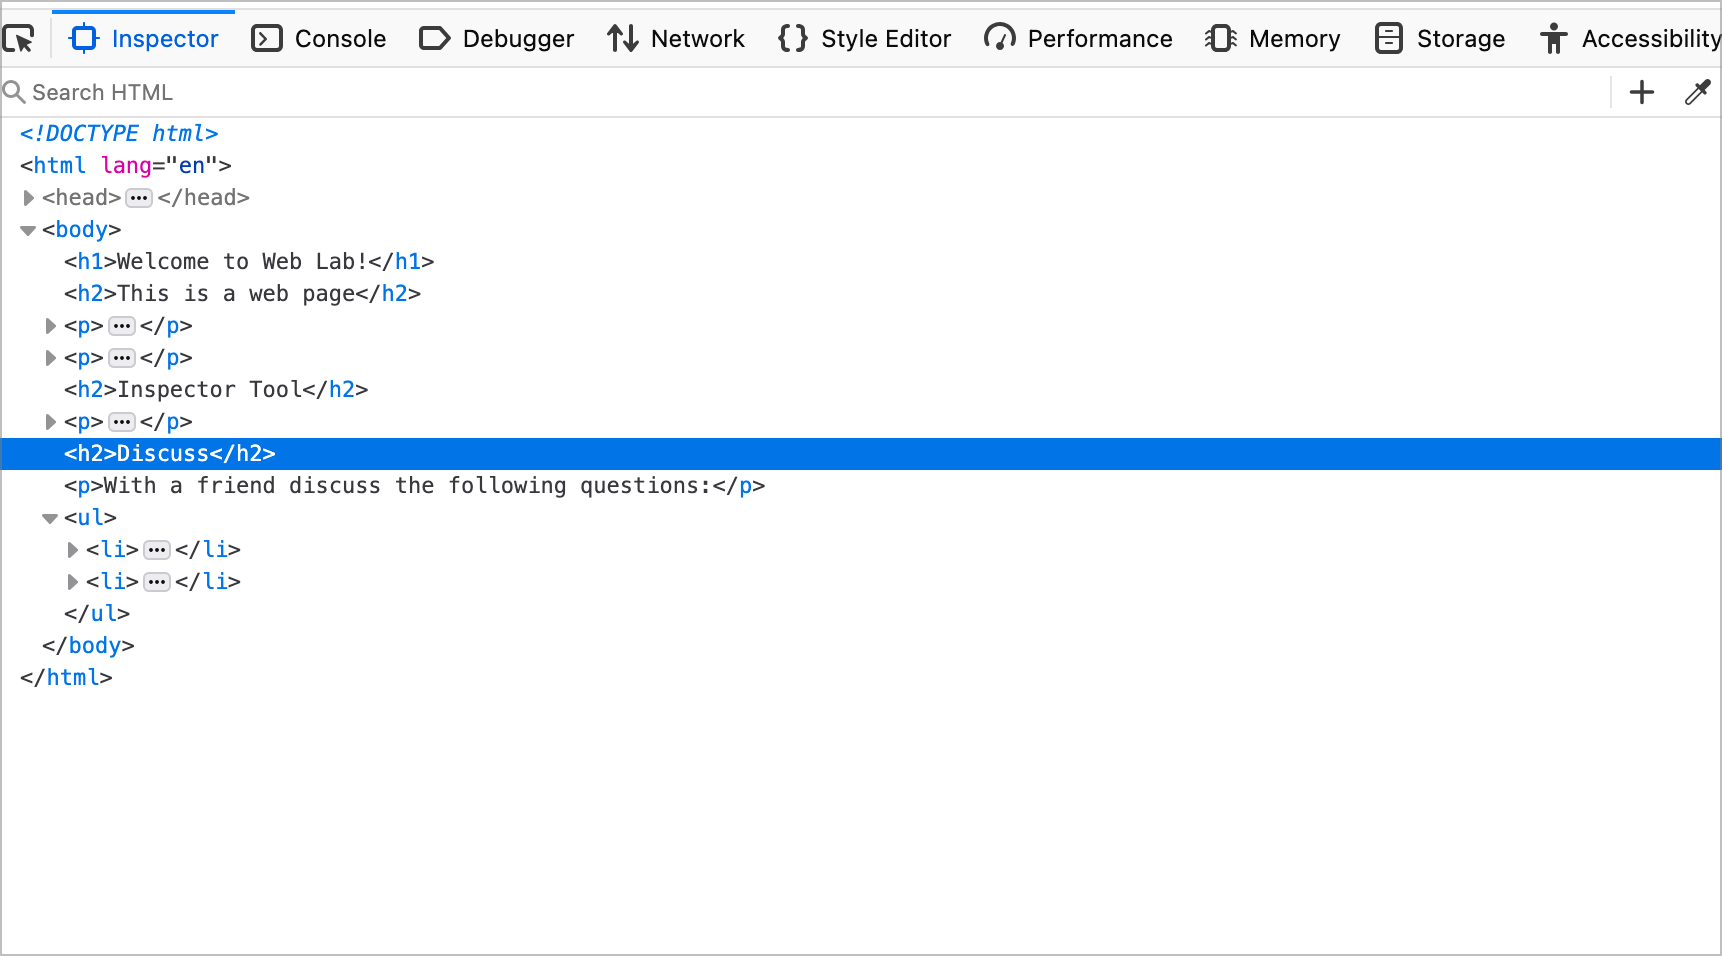
- In the Inspector, you'll see HTML code with tags like
<> - Hover your mouse over different HTML tags in the Inspector
- Watch what happens in the browser window above
Question to answer: What happens in the browser when you roll over the respective tags in the Inspector?
Step 6: Use the Element Picker
- Look for the Element Picker button in the top-left of the Developer Tools
- It looks like a cursor/arrow pointing at a box:
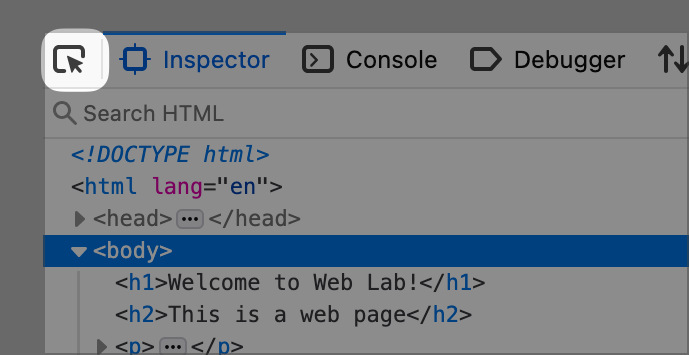
- It looks like a cursor/arrow pointing at a box:
- Click the Element Picker button
- It will turn blue when active
- Now, hover over anything in the browser window
- The corresponding code will be highlighted in the Inspector
- You'll see colored boxes around different page elements
Step 7: Investigate HTML Tags
Use the Element Picker tool to find answers to these questions:
Question 1: What HTML tag (code inside < >) makes the text bigger and bolder?
Question 2: What HTML tag creates a list of items?
Question 3: What HTML tag makes text appear on separate lines (line breaks)?
Question 4: Can you find a piece of HTML code that doesn't appear to create any visible effect on the screen? What might it be for?
Part 4: View Code in VS Code
Step 8: Open the File in Visual Studio Code
- Open Visual Studio Code
- Go to: File → Open Folder...
- Navigate to and select your
desn368-[initials]-f25folder - In the VS Code sidebar, expand the folders to find your file:
week-1→view-source→view-source-[initials].html
- Click the file to open it in the editor
Hint — you can just drag the folder onto VSCode and it will open!
Step 9: Install Live Preview Extension (Recommended)
To view your HTML file directly in VS Code:
- Click the Extensions icon in the left sidebar (looks like building blocks)
- Search for: "Live Preview" by Microsoft
- Click Install
- Once installed, right-click your HTML file in VS Code
- Select "Show Preview"
Now you can view your code and the rendered webpage side by side!
Part 5: Document Your Findings
Step 10: Add Your Answers to the HTML File
- In VS Code, scroll to the bottom of your HTML file
- You'll see a section with questions (or add one if it's not there)
- Type your answers directly in the HTML file as comments
Use this format for your answers:
<!-- ANSWERS TO VIEW SOURCE ACTIVITY by [Your Name]

Question 1: What code makes text bigger and bolder? Answer:

Question 2: What code creates a list? Answer:

Question 3: What code makes text appear on separate lines? Answer:

Question 4: What code doesn't appear on screen? Answer:

Question 5: What happened in the browser when you hovered over tags in the Inspector? Answer:
-->
4. Save your file (Ctrl+S or Cmd+S)
Part 6: Submit Your Work
Step 11: Submit to Canvas
- Go to Canvas and find this assignment
- Upload your
view-source-[your-initials].htmlfile - Make sure:
- ✅ File is renamed with your initials
- ✅ Your answers are included in the file
- ✅ File is saved in your organized folder structure